Pages

Saturday, March 26, 2016

Easter Mani

My nails were SO in need of a mani!  I try to keep up with them, because I like when they are painted and manicured, but life just gets in the way sometimes.  I have to say though...I am so happy Chris got me a UV light so I could do my gel polish manicures at home.  It pays for itself in the first month or two you use it.  And yes, the polishes are pricey (about $16 each) but you can find them on sale, and I just buy one or two at a time.


I wrote a post a few years ago about doing your own gel mani's at home you can find it here.  And whats really awesome, you can use your own non-gel polish if you want, and stamp them to add a little added flare.  :)


XOXO - Rachel

Friday, March 25, 2016

Family Hike

It's so nice when I have a break from school, and I get to just be "Mommy" for a few days.  Sometimes our family time gets replaced by all the other things in our life.  The to-do list just keeps getting longer, and the things that are "wants" and not "needs" just get pushed lower and lower.  I make sure to spend time with Colton, and Chris spends tons of time with him, but we don't always spend time together as a family.


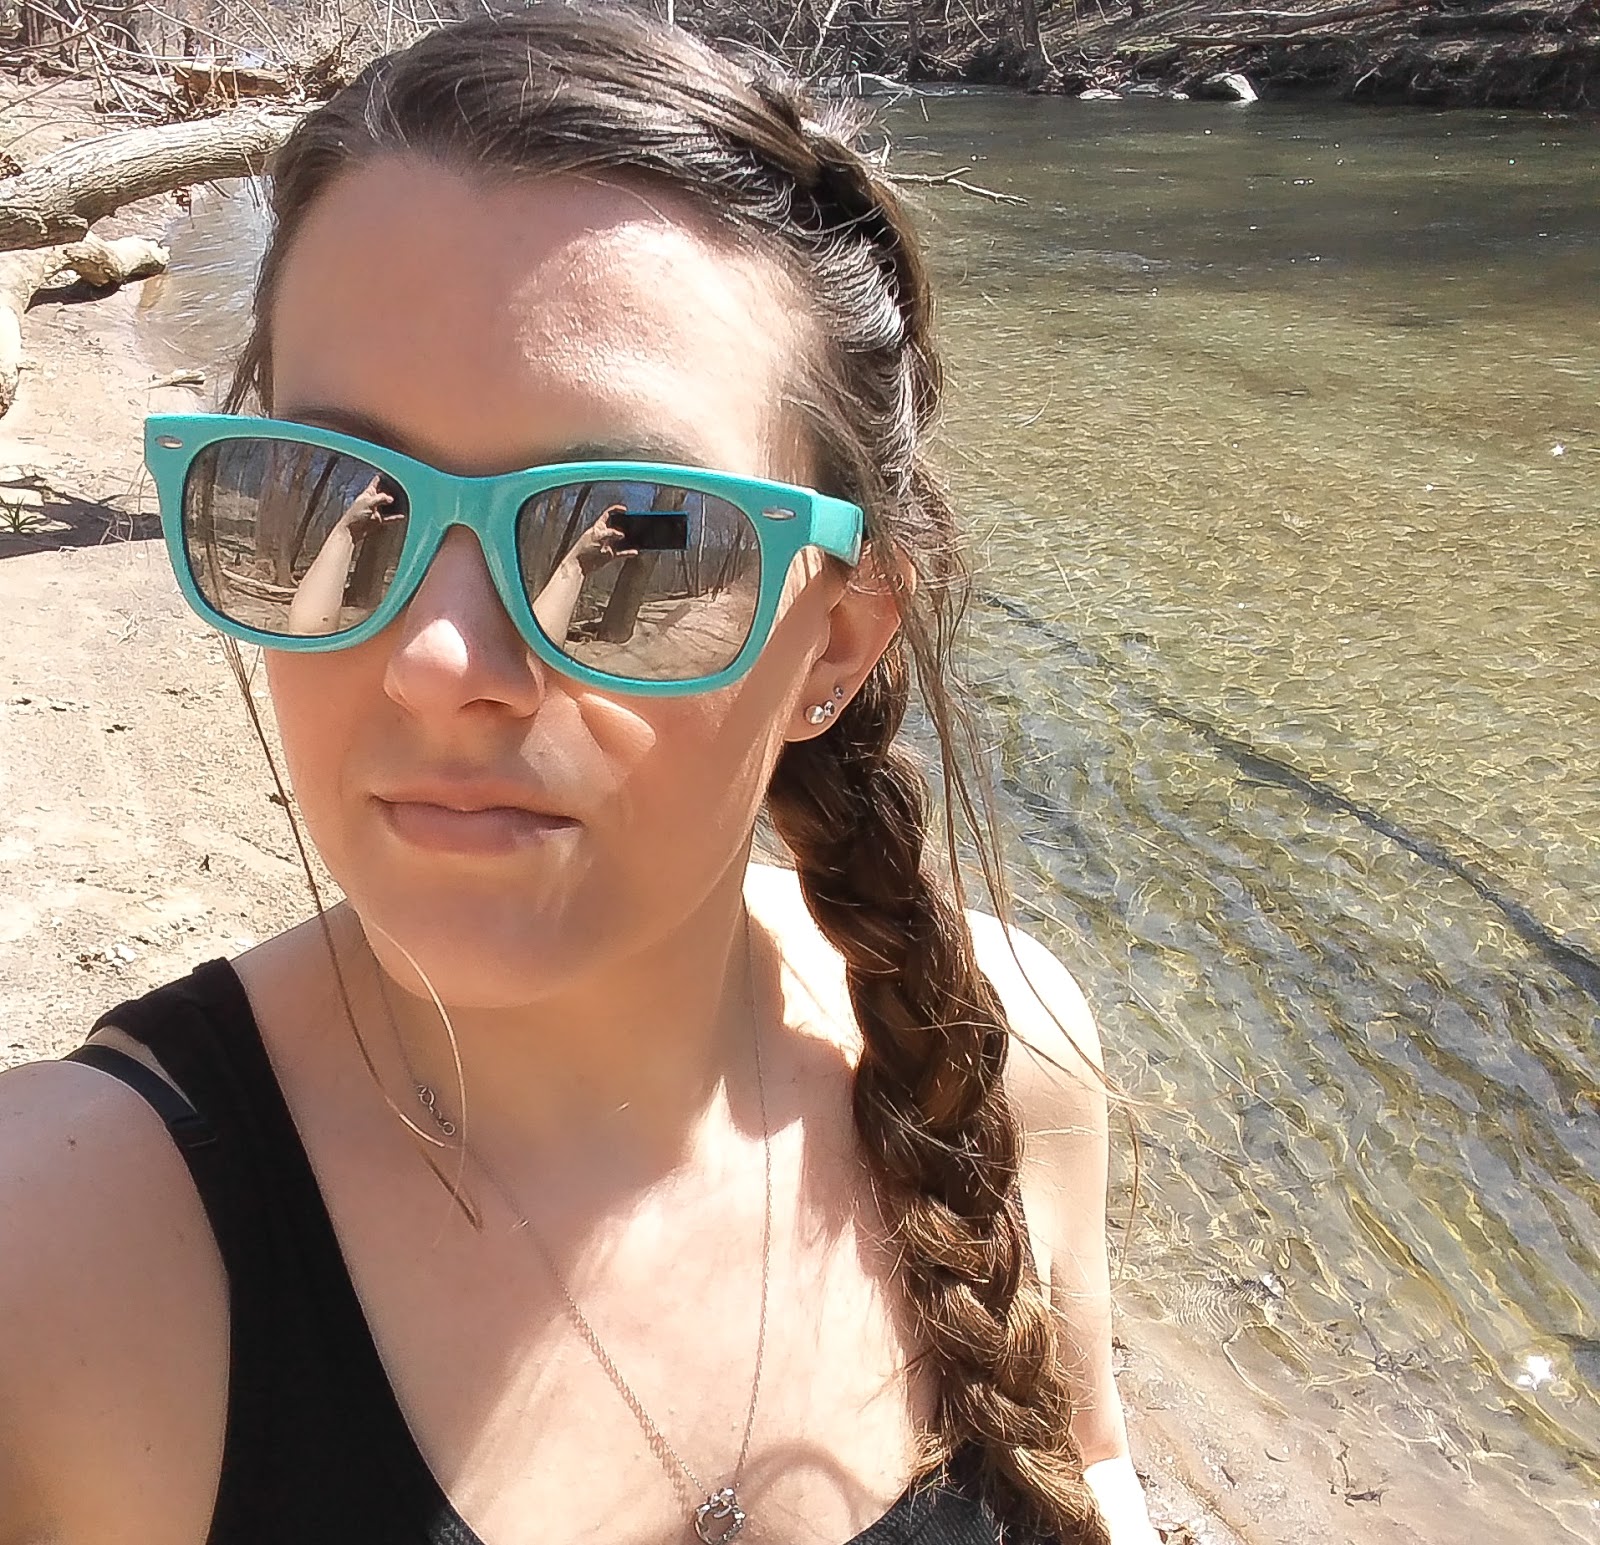
Chris and Colton will often go to the local hiking spot when I'm at work, and I've been wanting to do this as a family for weeks.  Finally, we had the day off, the beautiful weather, and the time to do it.


There is something to be said for getting a little exercise, lots of fresh air, sunshine, and some much needed family time all together.  It's just good for the soul.  We hiked for almost 3 hours, and all three of us loved every minute.  We let Colton walk the trail when it was wide and flat.  He loves to pick up every rock he can get his little hands on, and point out every bird he sees.  He wants to name everything he can, and when he doesn't know the word for it, he wants you to tell him.  


I think a couple people thought we were crazy when we took the stroller on some of these trails.  (In fact there were a few spots where I carried Colton, and Chris carried the stroller)  But really, for the most part all you need is a good stroller.  We have put ours through the ringer, and let me tell you, it - is - AWESOME!  We have taken it hiking, and really, serious hiking.  We have taken it on the beach through the deepest of sand.  We have even used in the ocean, seriously.  It's a fantastic stroller!


Rant about the stroller over :) Really, I am just happy to have been able to spend this time with my family.  And I'm even happier to have this time off school to recharge and get in some much needed cuddles with my favorite guy.


xoxo - Rachel

Monday, March 21, 2016

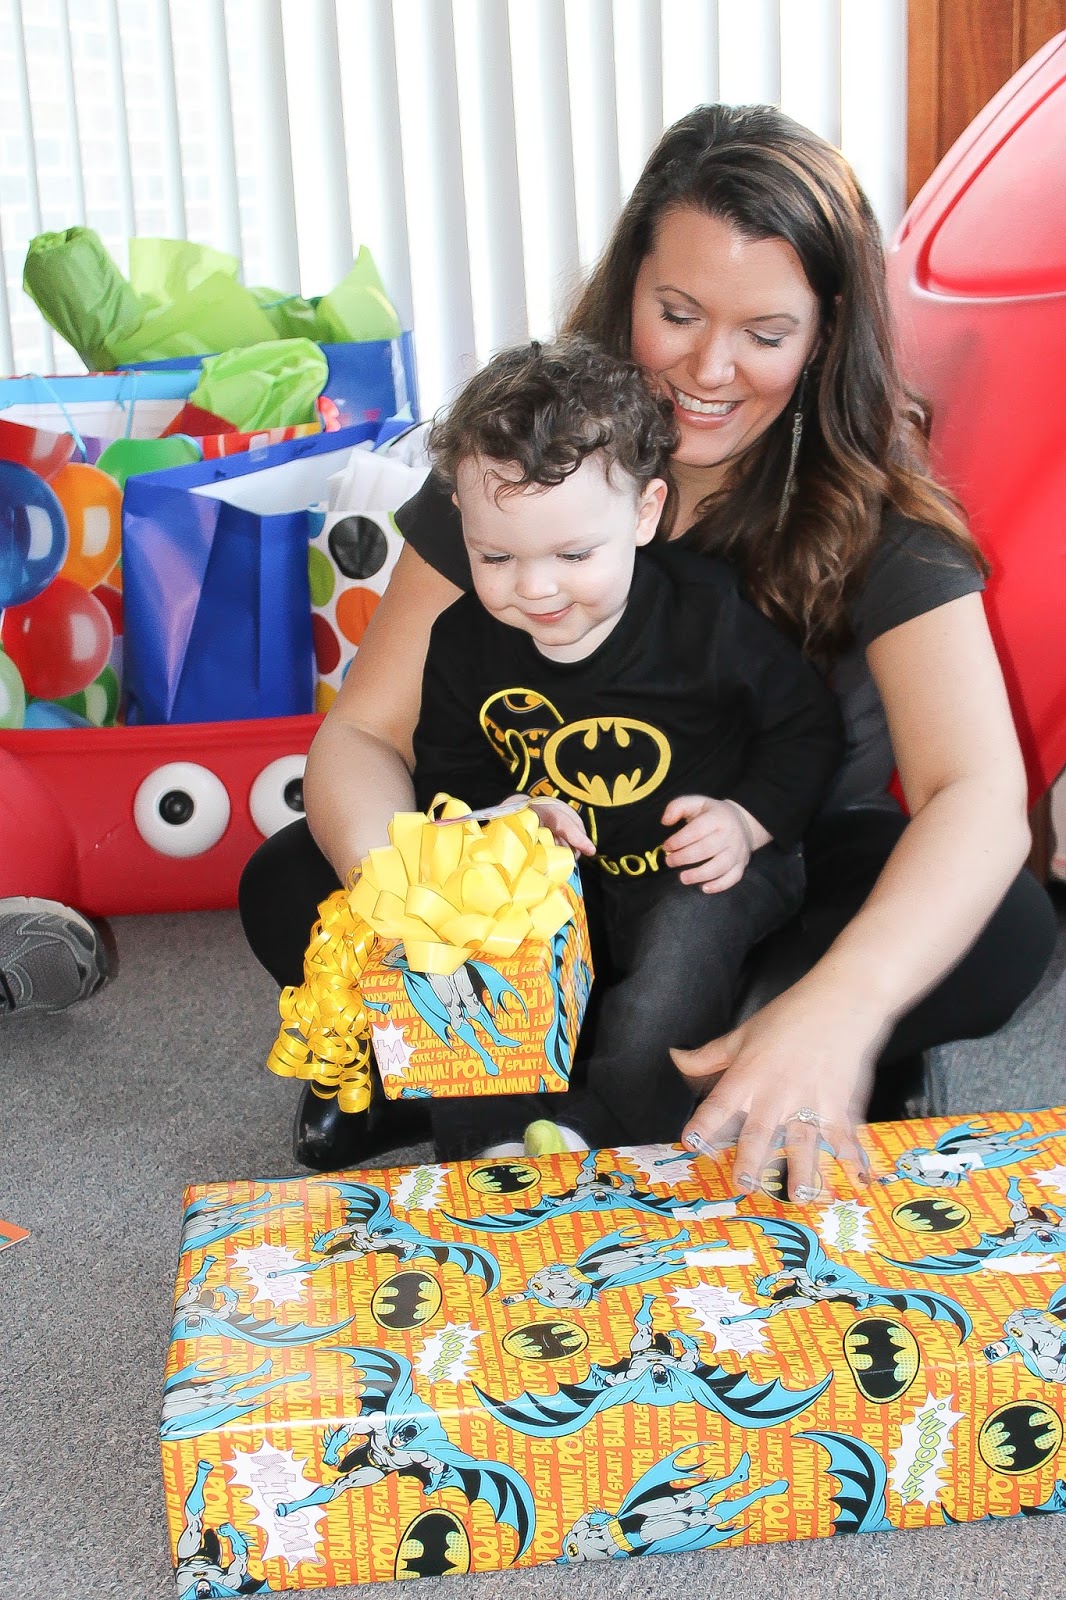
Oh Baby! He's TWO!

I'm about a month late in writing this, but my little baby turned 2 last month!  Seriously, how did that happen?  I literally feel like we just brought him home from the hospital yesterday.  On the other hand, I also feel like he's been a part of our lives forever.

Don't get me wrong, we have days when I can't wait for him to take a nap, or go to bed.  But most days he is so much fun!  I feel like I'm enjoying each new stage so much more than the last.  He was cute as a baby, but the toddler stage is so much fun.  He learns a new word everyday (really more like several new words now).


I'm trying to keep track of all the cuteness, but I know I'm going to forget something.

He loves to dance and sing... he has started singing along with me when I sing our "night night song")
He loves making you laugh... he'll doing something over and over as long as you keep laughing
He adores all things bunny and bear
He thinks everything is blue
He loves puzzles, cooking, and trains
He loves to sit with me as I play the piano or ukulele
He will always point out when there's two of something
He is one of the most observant kids I know... he notices everything, and will let you know when its different, or out of place
He loves spending the day with his Grammy (and we are so thankful when he does)
He is the worlds best sleeper!!!  Seriously and knock on wood a million times!

I am trying to savor every moment of our lives right now, but if our future holds anything like our past, we are in for a wonderful ride.

Wednesday, January 27, 2016

Reverse Nail Stamping

I recently got back into nail art, and discovered the technique "reverse stamping", also known as "advanced nail stamping".   It's actually really easy, despite its name. 

There are several different techniques out there and several YouTube videos to help.  I prefer to make my design on wax paper and let it dry before applying it to your nail, kind of like a nail sticker.  I've really only tried this technique a few times, but I have found that it works best to make the design the night before.

First, pick out the plate you are going to use.  All of my plates are Bundle Monster, they are the first ones I ever used, and I really like them, so I've never bothered to try anything else.  I use Konad and Bundle Monster stampers, and an old gift card as a scraper.

Some images stamp really easy, some are tricky, some polishes stamp easier than others (even if they are designated stamping polishes), and I swear the weather also has something to do with it.  I have been known to give up on a design because stamping is just not working for me that night.
These are the two stamping polishes I'm using.  They are both Konad.  The orange one is really beautiful, but it didn't stamp the way I was hoping it would.


Next, draw a several squares on some wax paper (I know a lot of tutorials tell you to use a baggie...don't bother...just use wax paper).  Paint each square with one coat of clear polish.  When the polish is completely dry, stamp in the square.


When your stamps are completely dry, you are ready to create your nail sticker!  Now, you are working backwards so you don't have to be super neat and stay in the lines, but it will be to your advantage to keep your polish in the lines as best as you can.

I'm using a few different polishes to fill in my design.  (I actually decided later that I used too many colors...more on that later)


 I use dotting tools to fill in my designs.  I like that I have a variety of sizes depending on my needs.  You are going to want to use a very light touch, you don't want to mess up the original stamp.


This is about where I stop and leave the "stickers" to dry for the night.  They need to be completely dry before you apply them to your nail. 

When you are ready to apply your stickers, you need to prep your nails be applying a base color and letting it dry.  I use gel polish so I apply my base coat and cure, followed by one coat of color and cure.  White makes a very good base color, unless you want your base to show through.


From this point forward I suggest working on one nail at a time.  First apply a clear coat to your nail.  Then peel off your "sticker" and press it to your nail while its still wet.


Use nail polish remover (I use straight acetone) and a angled eyeliner brush to clean up the access around the nail.  Again, I suggest doing one nail at a time.  Work slowly and carefully.  I usually make a few extra stickers in case one gets messed up or rips.


Continue on the rest of your nails, and your done!!!  As you can see the images that used the green stamping polish turned out a lot better than the orange.  I think it turned out ok...its not my favorite, but I learned a lot while doing this.  I will probably be changing the polish soon.  But since I use gel polish I cant really change it too often.

Just an fyi...after I transfer all the stickers to my nails I do 2-3 coats of "Top it Off".


Like I said...I learned a few tricks after doing this last mani:
  • Make sure everything is completely dry after each step 
  • Do not scrap the original stamp when filling in...use a very light touch
  • Try to use as little polish as possible when filling in stamp, just enough to cover.
  • If your original stamp isn't thick enough your whole sticker isn't going to turn out (see orange nails)
  • Sometimes less is more...dont use too many different colors :)

I used my own advice and played with a few other stamping plates and colors.  I think I'm getting the hang of this!!!